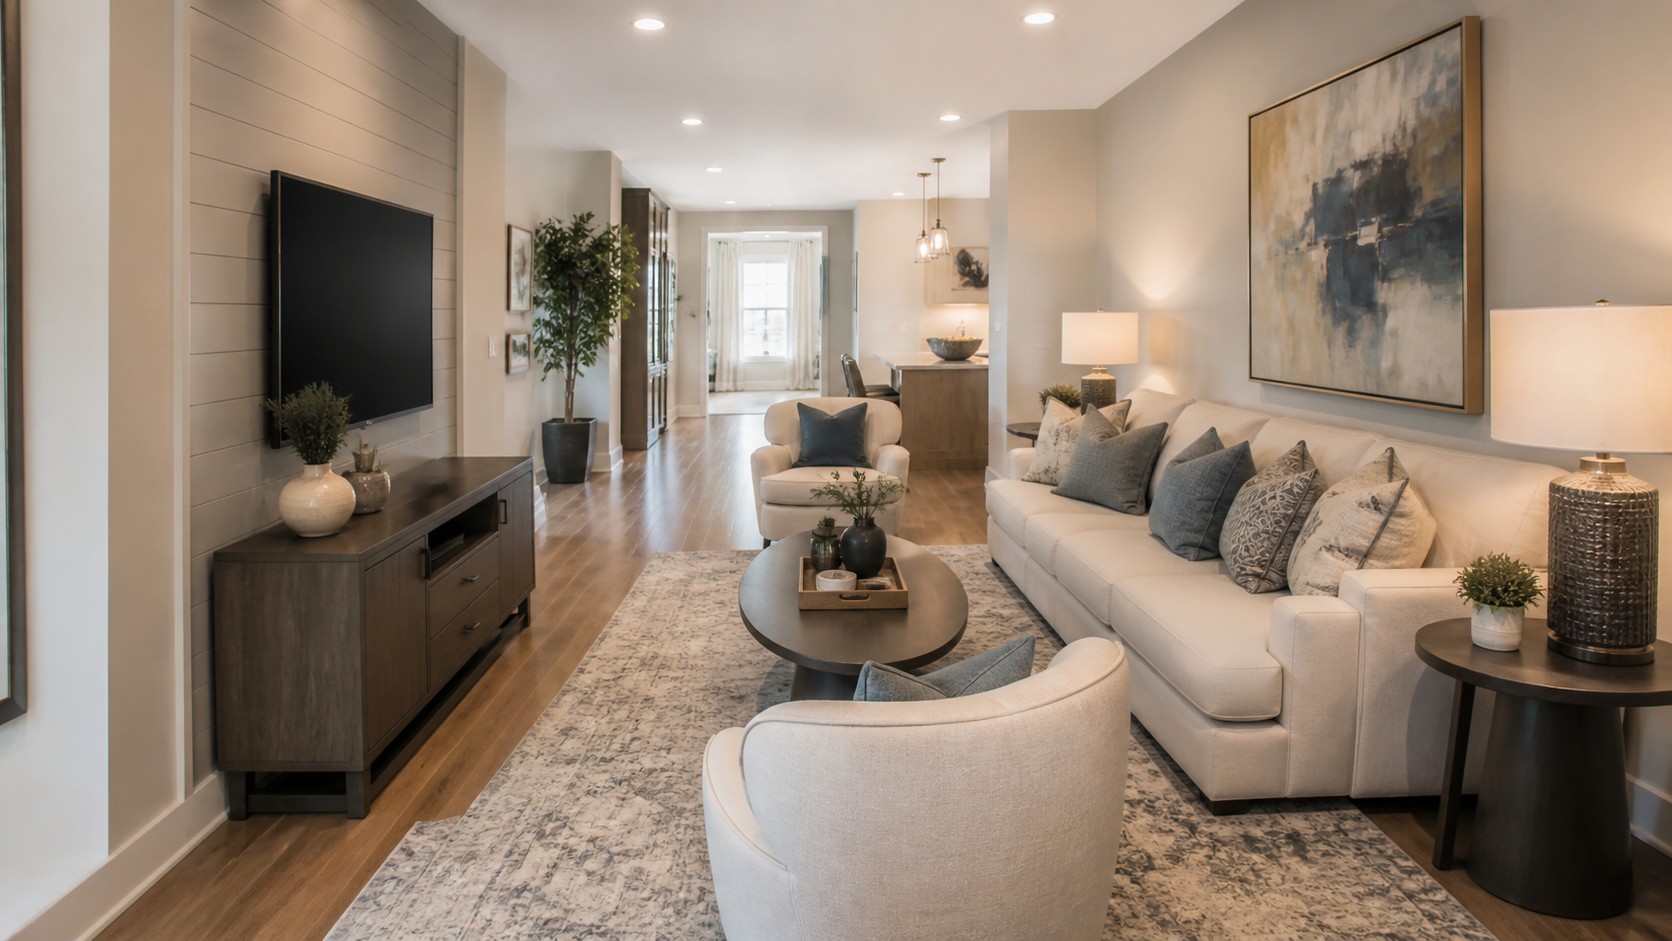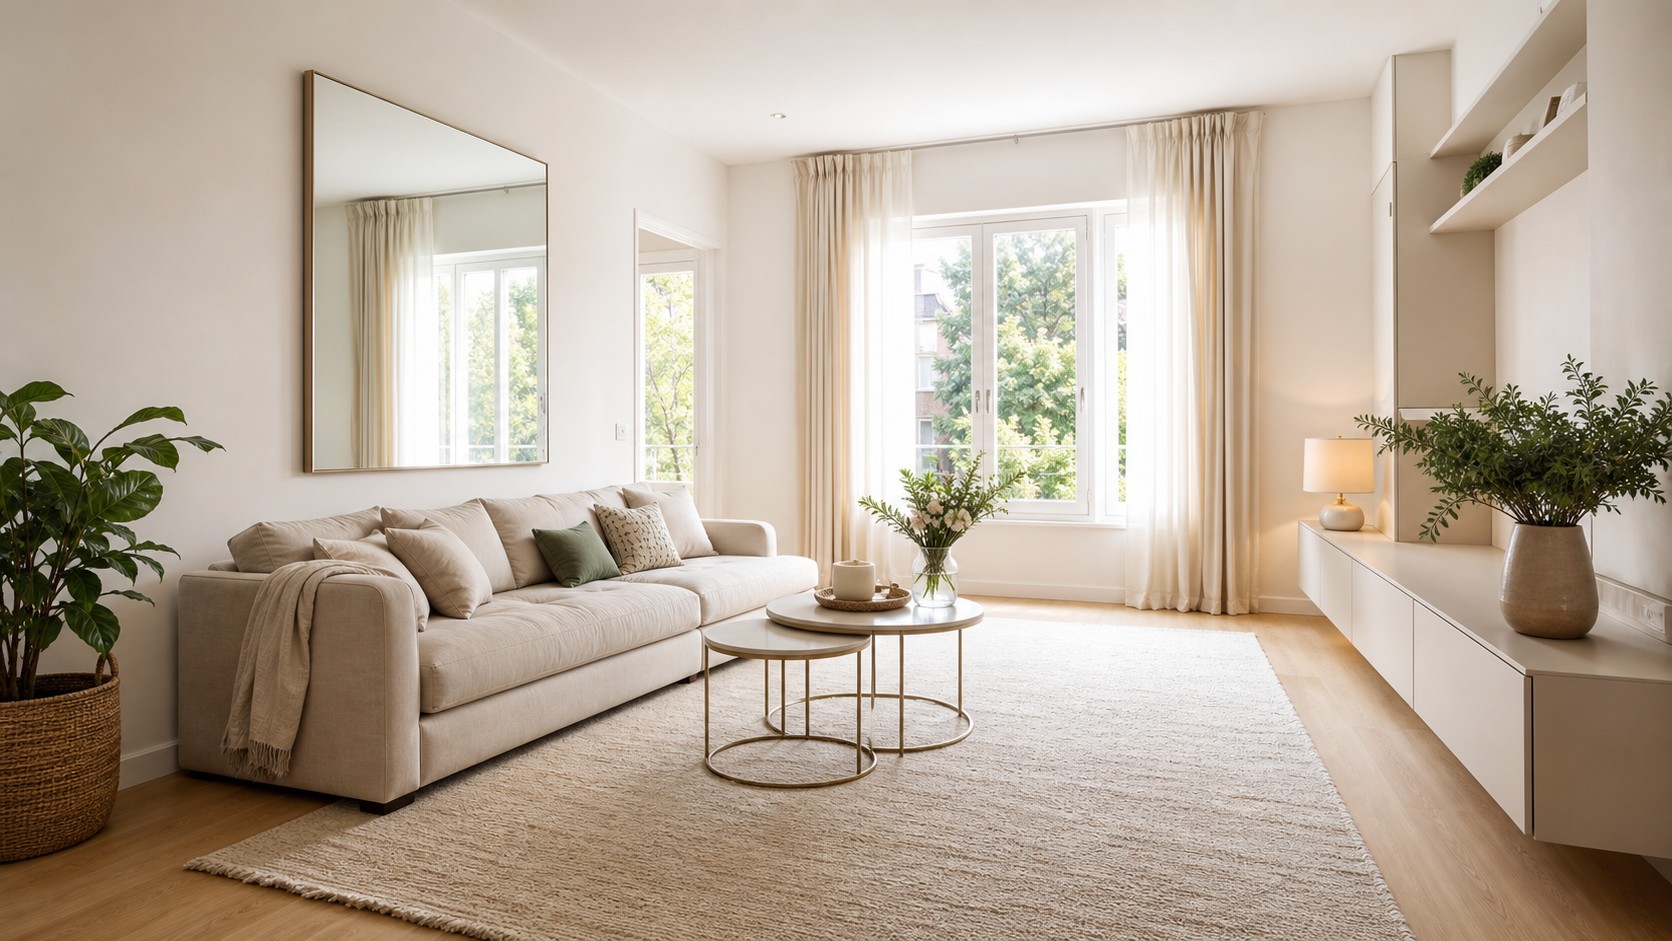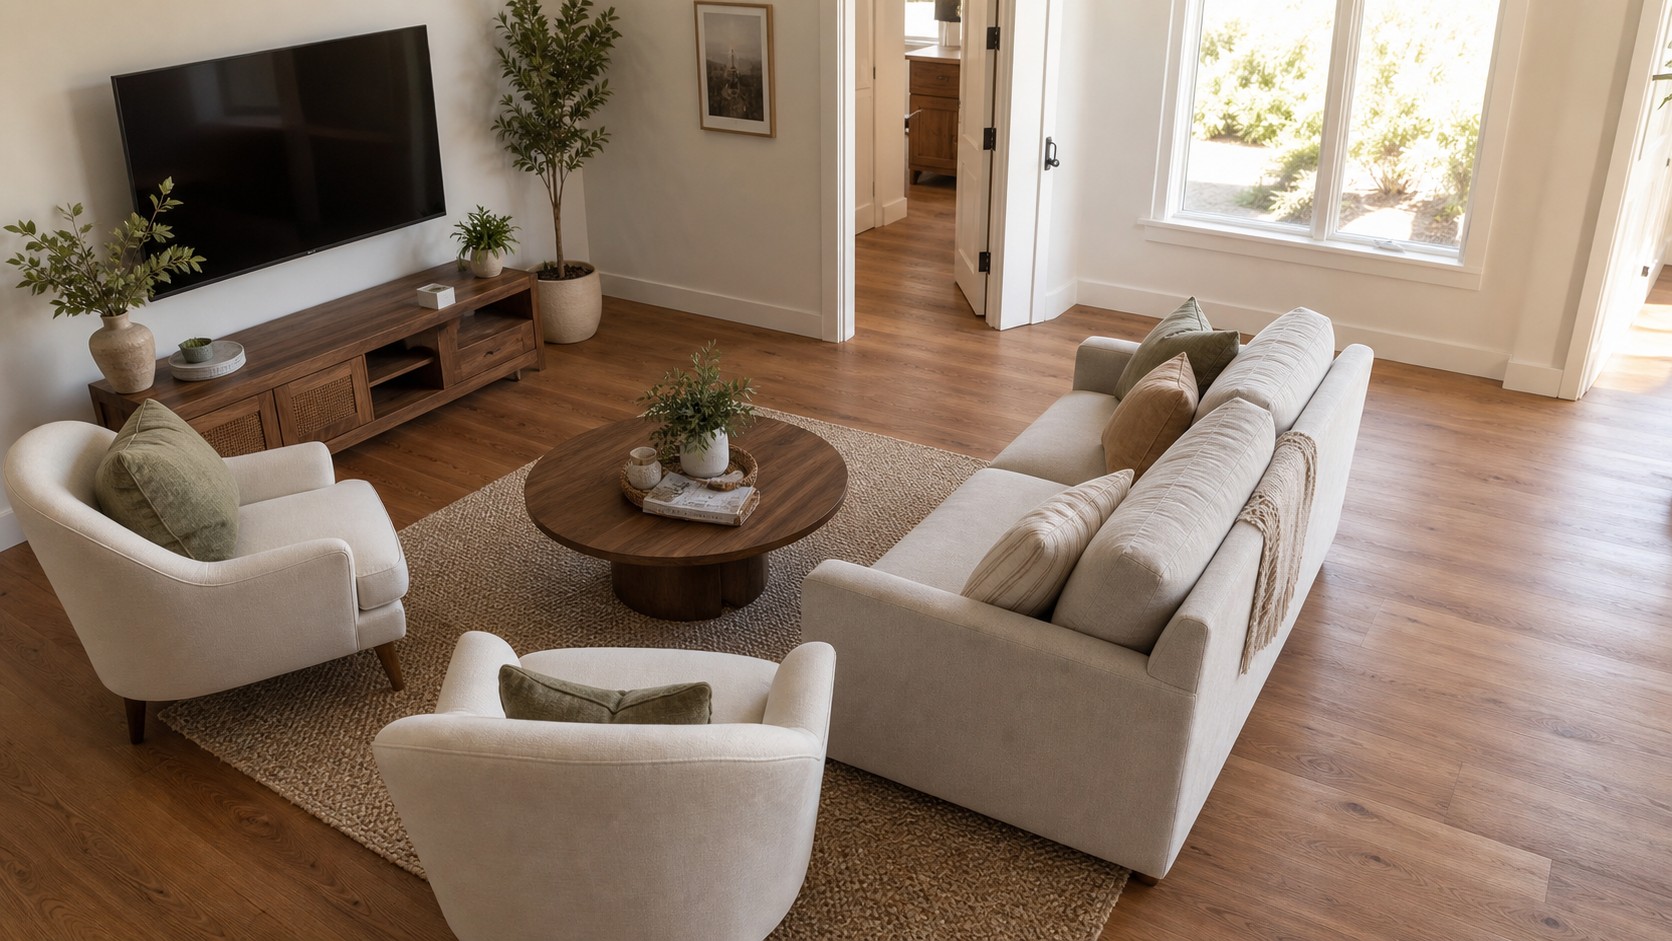
Arranging a small family room is easier when decisions happen in the right order. Starting with accessories or pushing every piece to a wall creates motion without progress. A better process records fixed features, protects circulation, places the largest necessary item, and builds outward from household habits. Every seat needs a view, every table needs a user, and every path needs enough room to feel natural. Follow this sequence before shopping to prevent expensive scale mistakes and make existing furniture work harder.
A: Start with the sofa or main seating piece, then build the layout around it.
A: It can, but pulling it forward slightly often makes the room feel more designed.
A: Yes, if it is compact, low-profile, and does not block walkways.
A: Round or oval tables are usually easier to move around in tight spaces.
A: Use storage ottomans, baskets, benches, and closed cabinets to hide clutter fast.
A: Aim for everyday comfort first, then add flexible stools or poufs for guests.
A: Usually yes; a larger rug can make the seating area feel more unified.
A: Choose fewer pieces, smaller profiles, hidden storage, and clear walking paths.
A: Place it where glare is low and seating can face it comfortably without blocking flow.
A: Buying furniture before measuring the room, doorways, and traffic zones.
Step 1: Measure the Fixed Envelope
Begin with the way the room is used on an ordinary evening, not with an idealized empty floor plan. Record the true usable room, including baseboards, vents, radiators, hearths, trim, and door swings that simple rectangles omit. Measure wall segments, openings, sill heights, outlets, and ceiling height, then sketch them accurately and note the direction of daylight. The goal is a clear composition that remains comfortable, durable, and easy to understand.
Measure furniture at its widest, deepest, and highest points, including cushions and angled legs. Include clearance for drawers and recliners. Look closely at spacing, repeated lines, material transitions, and the way daylight changes the view from each entrance. These quieter relationships are what make a room feel intentional instead of assembled one object at a time. They also help separate a lasting design decision from a quick decorative fix.
Test the idea at full scale before committing. Walk the main route, sit in every regular seat, open nearby doors and drawers, and view the room at night as well as during the day. Never rely on memory or rounded listing dimensions; a few overlooked inches can ruin a daily path. Make small adjustments until function and visual balance reinforce each other. A few inches, a lower profile, or one removed accessory can produce more improvement than another purchase.
Step 2: Rank Real Activities
This choice establishes a hierarchy that every later purchase and placement should support. A small room cannot give equal territory to every possible use. Daily routines should outrank occasional aspirations. List regular viewers, conversation, play, pets, homework, reading, and storage, then choose one primary and two supporting uses. The goal is a clear composition that remains comfortable, durable, and easy to understand.
This ranking may reveal that clear play space matters more than a deep sectional or that two chairs outperform a formal table. Look closely at spacing, repeated lines, material transitions, and the way daylight changes the view from each entrance. These quieter relationships are what make a room feel intentional instead of assembled one object at a time. They also help separate a lasting design decision from a quick decorative fix.
Test the idea at full scale before committing. Walk the main route, sit in every regular seat, open nearby doors and drawers, and view the room at night as well as during the day. Do not let a rarely used activity control the permanent arrangement. Make small adjustments until function and visual balance reinforce each other. A few inches, a lower profile, or one removed accessory can produce more improvement than another purchase.
Step 3: Draw the Main Traffic Path
The strongest approach treats this part of the room as practical architecture rather than leftover decoration. Circulation forms the framework for every placement. Unclear routes force people through the seating group and make the room feel crowded. Connect doorways to common destinations with the simplest line and keep bulky pieces, corners, and open cabinet doors outside it. The goal is a clear composition that remains comfortable, durable, and easy to understand.
Consider someone carrying laundry, walking beside a child, or crossing in low light. One generous route usually beats two mediocre ones. Look closely at spacing, repeated lines, material transitions, and the way daylight changes the view from each entrance. These quieter relationships are what make a room feel intentional instead of assembled one object at a time. They also help separate a lasting design decision from a quick decorative fix.
Test the idea at full scale before committing. Walk the main route, sit in every regular seat, open nearby doors and drawers, and view the room at night as well as during the day. Do not sacrifice the daily path for a furniture arrangement that only looks balanced from above. Make small adjustments until function and visual balance reinforce each other. A few inches, a lower profile, or one removed accessory can produce more improvement than another purchase.
Step 4: Establish the Focal Relationship
Here, proportion matters as much as color, price, or style. Name whether television, fireplace, window, art, or a combination controls orientation before pointing seats in unrelated directions. Choose the view serving the primary activity and use movable seats for secondary focal points. Check screen glare and seated height. The goal is a clear composition that remains comfortable, durable, and easy to understand.
If a window is the star, keep large backs below the sill or place seating perpendicular to preserve daylight and depth. Look closely at spacing, repeated lines, material transitions, and the way daylight changes the view from each entrance. These quieter relationships are what make a room feel intentional instead of assembled one object at a time. They also help separate a lasting design decision from a quick decorative fix.
Test the idea at full scale before committing. Walk the main route, sit in every regular seat, open nearby doors and drawers, and view the room at night as well as during the day. Do not automatically mount a screen above a fireplace when heat, height, or neck angle argues against it. Make small adjustments until function and visual balance reinforce each other. A few inches, a lower profile, or one removed accessory can produce more improvement than another purchase.
Step 5: Place the Largest Essential Piece
Begin with the way the room is used on an ordinary evening, not with an idealized empty floor plan. The largest item establishes scale and consumes the least flexible area, so it must support the main use without becoming a barricade. Position the sofa or sectional where it preserves the route and sightline, testing wall-hugging and slightly floated options. The goal is a clear composition that remains comfortable, durable, and easy to understand.
Centering is optional; alignment with the usable zone and focal point matters more than alignment with the longest wall. Look closely at spacing, repeated lines, material transitions, and the way daylight changes the view from each entrance. These quieter relationships are what make a room feel intentional instead of assembled one object at a time. They also help separate a lasting design decision from a quick decorative fix.
Test the idea at full scale before committing. Walk the main route, sit in every regular seat, open nearby doors and drawers, and view the room at night as well as during the day. If one oversized piece forces every other choice into compromise, question the piece rather than blaming the room. Make small adjustments until function and visual balance reinforce each other. A few inches, a lower profile, or one removed accessory can produce more improvement than another purchase.
Step 6: Add Conversation Seats
This choice establishes a hierarchy that every later purchase and placement should support. Additional chairs should close the social circle without closing circulation. They are easier to angle and scale than a second sofa. Add one chair at a time and verify eye contact, table reach, screen views, and the appearance of exposed backs. The goal is a clear composition that remains comfortable, durable, and easy to understand.
Swivel chairs handle changing focal points, while stools and benches cover occasional capacity without permanent depth. Look closely at spacing, repeated lines, material transitions, and the way daylight changes the view from each entrance. These quieter relationships are what make a room feel intentional instead of assembled one object at a time. They also help separate a lasting design decision from a quick decorative fix.
Test the idea at full scale before committing. Walk the main route, sit in every regular seat, open nearby doors and drawers, and view the room at night as well as during the day. Do not park chairs in distant corners solely to fill them; unusable seats waste valuable floor area. Make small adjustments until function and visual balance reinforce each other. A few inches, a lower profile, or one removed accessory can produce more improvement than another purchase.
Step 7: Fit Tables and the Rug
The strongest approach treats this part of the room as practical architecture rather than leftover decoration. Tables and rugs should serve the established seats rather than forcing a showroom formula onto the plan. Choose a reachable table with knee clearance, add side tables only where used, and size the rug to connect the group. The goal is a clear composition that remains comfortable, durable, and easy to understand.
Round, oval, and nesting tables soften routes. A generous rug makes the furniture feel coherent and the floor feel broader. Look closely at spacing, repeated lines, material transitions, and the way daylight changes the view from each entrance. These quieter relationships are what make a room feel intentional instead of assembled one object at a time. They also help separate a lasting design decision from a quick decorative fix.
Test the idea at full scale before committing. Walk the main route, sit in every regular seat, open nearby doors and drawers, and view the room at night as well as during the day. Avoid a tiny rug floating beneath the table with no relationship to seating. Make small adjustments until function and visual balance reinforce each other. A few inches, a lower profile, or one removed accessory can produce more improvement than another purchase.
Step 8: Live With the Trial Layout
Here, proportion matters as much as color, price, or style. A layout is complete only when people can move, talk, watch, read, clean, and reach storage without repeated workarounds. Use taped outlines or provisional placement for several days, then add task, ambient, and accent light where behavior proves it is needed. The goal is a clear composition that remains comfortable, durable, and easy to understand.
Photograph every entrance to expose blocked windows, uneven weight, and awkward overlaps, then refine positions by inches. Look closely at spacing, repeated lines, material transitions, and the way daylight changes the view from each entrance. These quieter relationships are what make a room feel intentional instead of assembled one object at a time. They also help separate a lasting design decision from a quick decorative fix.
Test the idea at full scale before committing. Walk the main route, sit in every regular seat, open nearby doors and drawers, and view the room at night as well as during the day. Do not style away functional problems with baskets or accessories; correct the arrangement first. Make small adjustments until function and visual balance reinforce each other. A few inches, a lower profile, or one removed accessory can produce more improvement than another purchase.
Keep the Sequence for Future Changes
When a new sofa, screen, pet bed, or family activity arrives, return to measurements, priorities, routes, and focal relationships before shifting everything else. Small rooms reward disciplined order: solve structural decisions first, then complete them with comfort and character. A successful family room does not depend on one trick or expensive purchase. It comes from connected decisions about scale, movement, comfort, light, maintenance, and personality, followed by the confidence to edit anything that does not support the whole.