Plan the Hidden Space Before the Finished View
A wall-mounted television can look beautifully simple from the sofa while hiding a complicated collection of plugs, brackets, and cables behind the screen. Concealing that collection successfully requires more than choosing a hole or a cover. The mount must operate properly, the television needs suitable power, and signal connections should remain accessible when equipment changes. Start by understanding the space behind your particular screen and the route to the rest of the system. Then choose between surface concealment and a properly planned in-wall arrangement, keeping the installation requirements as important as the view from the room.
Inventory the Television's Real Connections
List the equipment connected to the TV and where each device will remain. A streaming player behind the screen creates different access needs from a console in a cabinet. Include audio, antenna, and network connections alongside video leads. Do not plan for a generic bundle if the actual setup has only a few active connections.
Check which ports the household uses and how their connectors project from the television. Some face sideways, others face down or toward the wall. That orientation affects clearance and cable routing. Use the TV’s documentation and inspect the equipment safely rather than assuming the illustration for a similar model applies.
Measure the Space the Mount Leaves Available
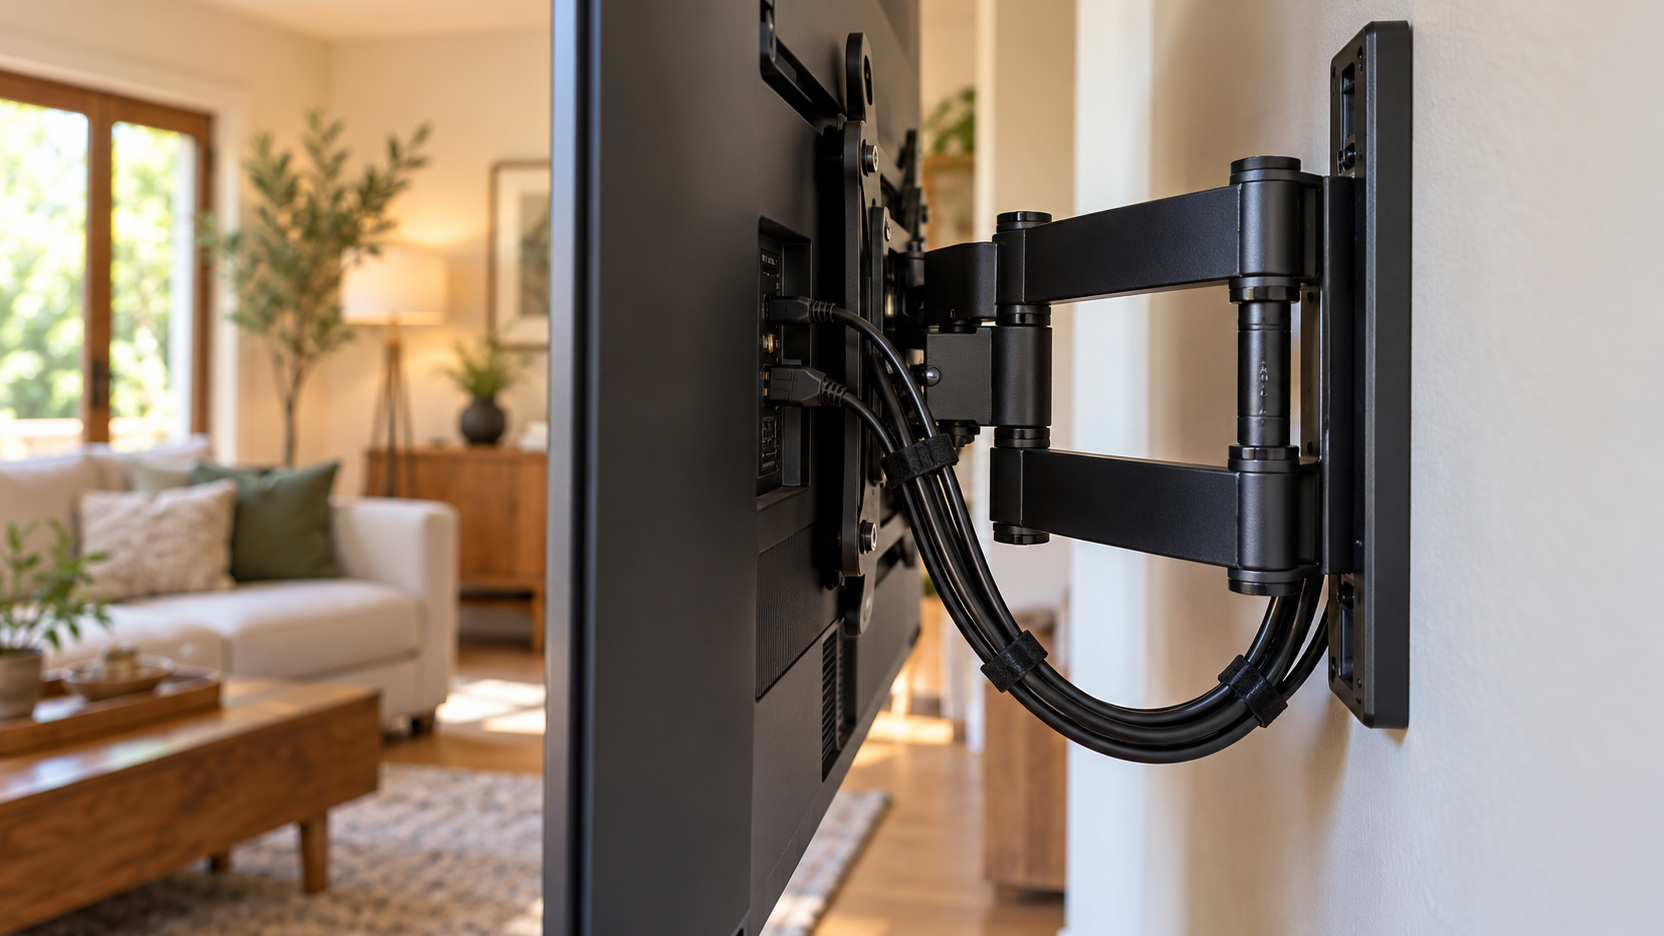
Consider the mount, the television, and the connectors together. A low-profile bracket may leave little room for a bulky plug or a projecting wall plate. An articulating mount provides movement but introduces hinges and changing cable distances. Check the requirements of the exact mount and television before selecting concealment accessories.
Map the bracket’s position so cable openings or outlet arrangements will not conflict with it. A location that appears hidden by the screen may sit directly behind a structural part of the mount. Coordinate these positions before wall work begins. The finished installation needs both a clear cable path and correctly installed mounting hardware.
Include the way the television is installed and removed from the bracket. Some mounting systems require space for lifting, locking, or release mechanisms. Concealed equipment should not obstruct those actions. Follow the manufacturer’s handling instructions and arrange appropriate assistance whenever the screen must be moved.
Decide What Should Stay Behind the Screen
Keep only equipment that suits the available space and its manufacturer’s placement guidance behind the TV. A small player may fit physically yet be unsuitable for an enclosed, poorly ventilated position. Consider access to its connections and supported restart controls too. Equipment used frequently by hand usually belongs in a more reachable location, while an appropriate behind-screen device should be supported without burdening the television’s ports. This decision can reduce the cable bundle before any concealment work is planned.
Choose Between Surface and In-Wall Routes
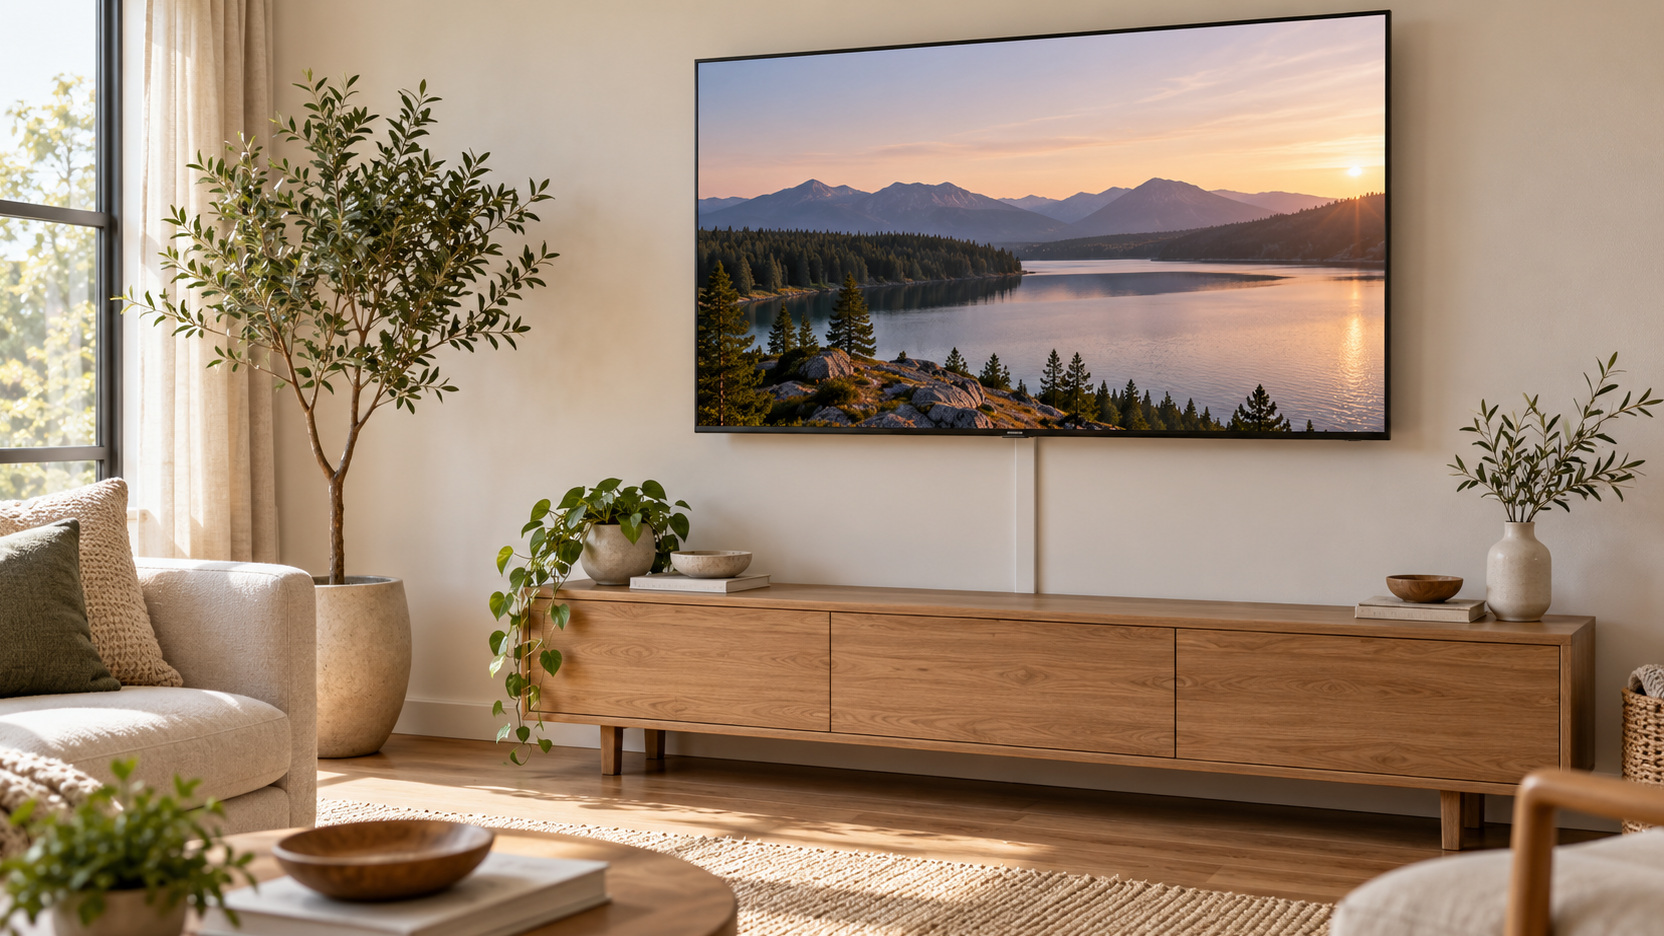
A suitable surface cover can conceal the visible drop from the television to a console while leaving the wall cavity untouched. It can be a practical choice when wall access, rental permission, or construction conditions make an in-wall route unsuitable. Check the cover’s permitted cable types, capacity, and attachment requirements. A small visible channel is often a reasonable trade for simpler access.
An in-wall route can remove the visible drop, but it requires a different level of planning. The wall construction, existing services, cable ratings, power arrangement, and applicable installation requirements all matter. Do not treat the hidden space as an empty passage simply because the wall looks plain. Have suitability assessed before deciding that concealment must happen inside it.
Treat Power Separately From Signal Connections
The TV’s ordinary supplied power cord is not a substitute for an appropriate in-wall power installation. ESFI’s extension-cord safety guidance warns against running extension cords through walls and using them as permanent wiring. Concealing a cord does not change its intended use. If an outlet needs relocating or adding, involve a qualified electrician and follow applicable local requirements.
Purpose-built in-wall power systems also have specific installation conditions. Legrand’s TV power and cable-management kit, for example, provides its own installation documentation. That documentation governs the product’s use; the presence of a kit does not make every wall or arrangement suitable. Confirm the proposed system with the appropriate installer rather than improvising parts from different products.
Keep the boundary between planning and electrical work clear. A homeowner can identify equipment locations and access needs without attempting an unfamiliar wiring procedure. Discuss those needs with the electrician or installer before the wall is opened. The result should supply the TV properly while leaving the installation understandable and maintainable.
Check the Wall Before Committing to Openings
Wall material and construction influence what routes and products are appropriate. Drywall, masonry, and older plaster assemblies do not automatically accept the same accessories. Internal obstructions or existing services can also change the plan. Ask a competent installer to assess the actual wall and confirm a suitable approach before any cutting.
Rental permission and building requirements belong in this decision too. Obtain the necessary authorization for changes and clarify any required restoration. If the proposed in-wall arrangement is unsuitable, return to a surface route or revise the equipment layout. A finished appearance should not depend on ignoring the conditions of the property.
Specify Signal Cables for the Intended Route
Choose signal cables suitable for both the connection and the installation environment. An HDMI lead that supports the desired picture features still needs an appropriate rating if it will run inside the wall. Confirm requirements with the cable manufacturer and installer. Do not infer an in-wall rating from thickness, price, or a general high-performance label.
Check the complete signal path for compatibility, including any receiver, switch, adapter, or wall connection. Additional joins can affect the arrangement and may complicate troubleshooting. Plan only the connections the setup actually needs. A straightforward supported path is easier to assess than several unnecessary conversion points hidden behind the screen.
Test the proposed signal cables with the actual equipment before they become difficult to access. Confirm the picture, sound, and features the family expects to use. A basic image appearing once is not enough to establish every desired function. Allow time for normal playback and relevant input changes while the connections remain accessible.
Account for Connectors at Both Ends
An opening or cable pathway must accommodate the connector arrangement as well as the cable diameter. A narrow route can accept the wire but leave no practical way to pass or replace its end. Discuss those dimensions with the installer and consult the selected product’s guidance. Avoid forcing a connector through a path that was not designed for it.
Behind the television, check the space occupied by plugs and any supported adapters. They should not push against the wall or interfere with the mount. Use only appropriate accessories for the connection, and test them as part of the signal path. A right-angle shape alone does not establish compatibility or make an unsuitable clearance acceptable.
Build Cable Freedom Into an Articulating Mount
An adjustable screen needs cable slack throughout its supported range. Follow the mount’s routing guidance and use its designated cable-management features where provided. Keep leads away from hinges and other pinch points. Observe the path while the screen moves slowly through the positions the household will use, with suitable handling assistance. Stop and correct any snagging or tension before treating the arrangement as finished.
Keep the Equipment Serviceable
Plan how someone will reach connectors, power controls, and cable openings after installation. A setup that demands removing the television for every routine player change may be unnecessarily burdensome. If the mount permits access through movement, make sure the cables preserve that access. Record any handling requirements for the people who will maintain the system.
Avoid filling the hidden space with extra adapters and unsupported equipment simply because it is out of view. Follow ventilation and mounting requirements for every device that remains there. Keep the relevant disconnection point practical to reach. Concealment should organize an appropriate installation rather than make its condition impossible to inspect.
Plan for the Next Device Without Guessing Forever
Think about likely equipment changes, such as replacing a streaming player or adding a console in the media cabinet. An accessible signal route can be more valuable than installing a large collection of speculative cables. Discuss replacement access and any appropriate pathway options with the installer. Products and construction conditions determine what can reasonably be provided.
Do not promise that today’s cable specification makes the room permanently future-proof. New equipment may have different connection needs, and a concealed cable may eventually require replacement. Make that replacement understandable through accessible endpoints and useful documentation. The strongest plan reduces the difficulty of change rather than predicting every future device.
Keep spare components and product instructions where they can be found. Include the chosen mount, cable-management products, and relevant signal-cable details in a simple household record. Avoid storing private account information in a visible equipment label. The record should explain the physical arrangement without exposing the family’s access credentials.
Inspect the Complete Installation Under Normal Use
Check every active input after the television is installed. Confirm streaming, connected games, antenna reception if used, and the chosen sound arrangement. Follow the equipment instructions for testing the features that matter to the household. If a function fails, trace that connection while the installation details are still fresh.
Review the cable path with the screen in its regular position and any other supported viewing positions. Look for tension, loose leads, or interference with mounting parts. Check access to controls and connections one more time. The finished view should not conceal a routing problem that becomes obvious only when the screen turns.
Judge the Result From the Room
Step back to the sofa and main entrance once the equipment is operating normally. Look for a loose cable below the screen, an exposed section near the console, or a surface cover that needs alignment. Make cosmetic adjustments without compromising cable freedom or equipment access. A successful installation looks composed because its hidden arrangement was planned carefully, not because every component was pushed into the smallest available space.
Preserve the Installation When Something Changes
When new equipment arrives, revisit the connection record and the relevant product guidance before altering the hidden route. Keep power changes within the appropriate professional scope, and test signal changes before closing access again. Remove obsolete accessories rather than layering new ones over them. With a clear route, accessible endpoints, and respect for the mount’s operation, the television can stay visually tidy while the family’s entertainment setup evolves.
Pay particular attention when the television itself is replaced. The new screen may place ports differently or require a different mounting arrangement even if its overall size seems similar. Reassess connector clearance, bracket compatibility, and access using the new equipment’s documentation instead of assuming the previous layout transfers unchanged. A concealed outlet or access point that worked well behind the old display may need reconsideration before the replacement is installed. Discuss any needed alterations with the appropriate installer and test the complete updated system afterward, including supported movement and the household’s usual inputs. The earlier plan remains useful as a record of the existing installation, but the replacement deserves its own suitability check before the family relies on it.