Build Around the Way You Like to Play
A gaming setup becomes enjoyable when its parts work together during an ordinary session. The screen should suit the viewing position, the controls should be easy to use, and equipment should have an appropriate place without making the room awkward. A dramatic photograph can suggest a color or mood, but it cannot decide whether your chair fits, your controller charges conveniently, or another person can walk past. Begin with the games, people, and activities the space needs to support. Then build a coordinated environment around them. The result can be visually distinctive while remaining comfortable, accessible, and easy to return to after the novelty of new equipment has passed.
Describe a Typical Session Before Designing the Room
Picture how a session begins and ends. Do you sit at a desk with a mouse and keyboard, use a controller from the sofa, or switch between both? Is play usually solitary, or do friends share the screen? These details establish the main positions and surfaces before style enters the discussion.
Include activities surrounding the game. You may need to join voice chat, look at a phone, use a guide, or put down a drink. Consider where those objects go without competing with controls. A setup feels more coherent when the small recurring tasks already have sensible places.
Choose the Primary Play Position
For desk gaming, coordinate the chair, desktop, inputs, and display rather than selecting each in isolation. Check whether the chair fits beneath the surface and whether the actual input area leaves useful room for movement. Sit in the proposed arrangement with the controls you use. A chair marketed for gaming still needs to suit the individual and the task.
For sofa-based play, evaluate the screen from the position you naturally occupy. Include reclined use if that is part of the routine. Keep a convenient place for controllers and any additional input device. A low table can be useful for storage without being a comfortable surface for prolonged keyboard use.
If the room supports both positions, establish which one is primary and what changes between them. Avoid relying on frequent cable swaps or moving heavy furniture whenever you change activities. A small, deliberate transition is more likely to remain convenient. The secondary mode should add flexibility rather than undermine the main arrangement.
Place the Display Through the Actual Game Tasks
Try familiar material from the intended seat. Check menus, subtitles, small interface elements, and rapidly changing scenes rather than judging a screen only by its desktop image. The useful size and position depend on what you need to see during play. A large display can still be poorly located for the task.
At a desk, leave room to adjust the display without crowding the keyboard and mouse area. From a sofa, include the regular side seat if others join. Investigate a model’s supported inputs and features for your platform. The complete source-to-display arrangement matters more than a feature label considered alone.
Reserve a Working Area for Inputs
Map the keyboard, mouse, controller, wheel, or other controls at their actual operating positions. Some accessories need considerable movement or approved mounting. Check the product instructions and surface compatibility before building storage around them. The empty desk in a photograph may conceal how much room the equipment needs during use.
If you use different controls for different games, plan where inactive equipment rests. A controller should not routinely displace the mouse, and a large accessory should not block everyday desk tasks. Store the least frequently used items where they can be retrieved without dismantling the setup. That allows the room to stay useful beyond one specialized arrangement.
Consider other players’ needs as well. Xbox’s accessibility resources describe supported features and adaptive input options. Compatibility and fitting requirements should be checked for the actual platform and accessory. Include access, reach, and control choices in the design rather than treating them as additions after the room is finished.
Give the Console or Computer Appropriate Space
Read the manufacturer’s placement and ventilation instructions for the exact equipment. Leave the required openings and surrounding space available. A cabinet that hides the device neatly may not be suitable while it is operating. Storage appearance should follow those requirements rather than determine them.
For example, PlayStation’s PS5 guidance discusses ventilation and avoiding cramped arrangements. Consult the current manual for your particular model and approved orientation. Do not transfer one device’s dimensions or clearance requirements to a different console or PC. The useful plan is specific to the hardware that will occupy it.
Make Connections Reachable Without Making Them Prominent
List the cables that stay connected and the ones you regularly change. Leave appropriate access for both. A completely concealed connection can become frustrating when headphones, controllers, or an external device need attention. Consider the actual plug and cable path, not only the socket’s location.
Use suitable cable organization without straining connectors or obstructing equipment openings. Allow for the movement of adjustable furniture and the normal handling of controls. Keep the route compatible with walking through the room. When installation requirements are unclear, use the relevant equipment guidance and qualified help rather than improvising a hidden arrangement.
Labeling can be useful within your own practical organization, especially where several similar leads meet. Keep that information discreet and legible for the person who maintains the setup. Save the connection plan with equipment records. The aim is a space that looks orderly and can still be understood when something changes.
Plan Sound for the Room and the People Nearby
Decide when speakers and headphones make sense for your household. Shared play may benefit from room sound, while late sessions or voice chat may favor a compatible headset. Check the platform’s supported connections and the accessories’ actual requirements. Wireless branding alone does not establish that a headset works in the way you expect.
Give the headset a place to rest and charge without obstructing the play area. Consider how users switch between private listening and shared sound. That transition should be understandable to another person who uses the room. A good audio arrangement fits both the game and the household’s ordinary rhythms.
Use Lighting to Support the Screen and the Room
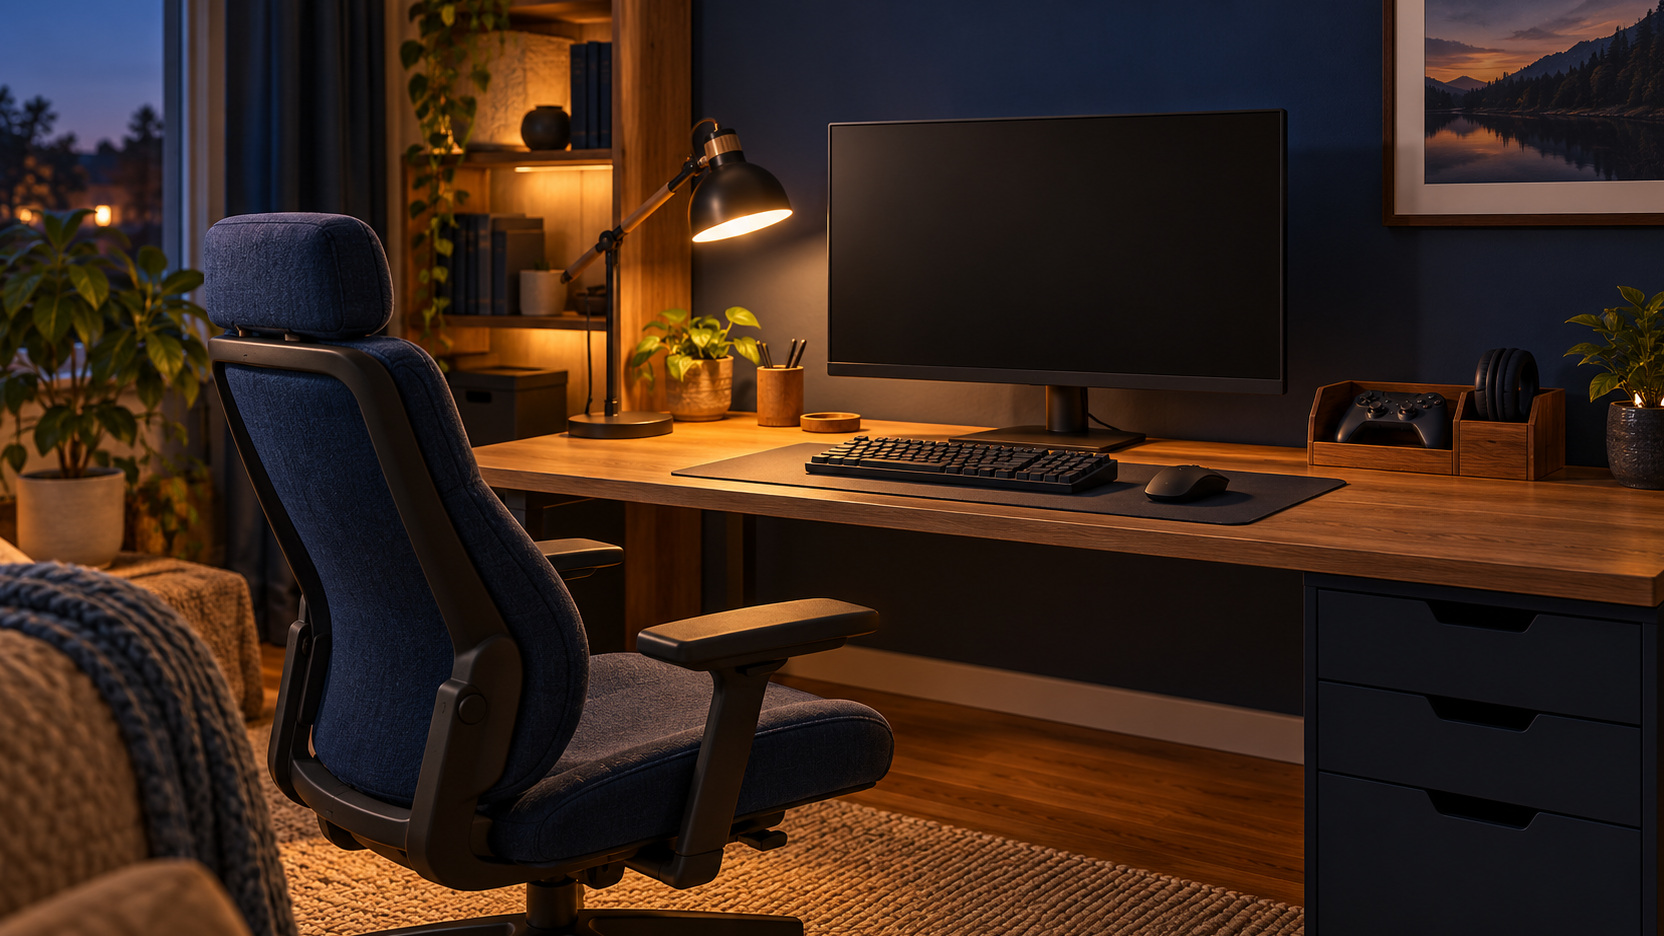
Observe daylight and lamps from the play position. Reflections or a bright source directly in view may be distracting even when the room looks attractive in a photograph. Try the setup during the hours you usually play. Adjust the arrangement with suitable window treatments and lamp positions before assuming the display is the problem. Decorative lighting can add character, but it should remain easy to control. Choose an appearance that works when you want a calm room as well as a dramatic one. Avoid making every ordinary session depend on multiple lighting apps. A simple, coordinated lighting routine can make the space feel intentional without taking over the activity. Test it with the display off as well: another person should still be able to select useful general light for conversation or clearing the equipment afterward.
Organize Charging Around the End of a Session
Choose the controller’s resting place from the position where play ends. A console player might put a compatible charging dock on an accessible side surface rather than beyond the television, where retrieving it interrupts the next session. A desk player may prefer a small tray beside the headset’s home. Use the equipment’s charging instructions and leave the arrangement clear of ventilation and movement routes.
Rehearse the return with the actual accessories and leads. A dock that is attractive but hidden behind display objects is unlikely to be convenient, while a loose lead that falls behind furniture creates a recurring search. Keep the resting place obvious enough for another player to use and make it easier to return the controller than leave it on the sofa. That simple transition supports the next activity as well as the next game.
Separate Display Storage From Practical Storage
Objects you enjoy displaying can make a gaming space personal. Select a few that contribute to the room’s character and leave the working surfaces useful. Put spare cables, cases, and less attractive maintenance items in appropriate storage. They deserve access without all becoming part of the visual composition.
Group storage by use rather than forcing every item into matching containers. Regular controls need a nearby home, occasional accessories can sit farther away, and records may belong together in a file. Avoid buying storage before checking what must fit. The final arrangement should reflect the inventory you actually own.
If the room also serves work or family viewing, create a straightforward reset. Inactive equipment should have a place that lets the next activity begin without negotiation. A shared desktop may need a clear surface rather than a permanently staged game scene. The design succeeds when changing use feels routine.
Choose a Visual Direction That Can Evolve
Pick a small set of colors, materials, or shapes that connect the furniture and accessories. You do not need every object to match precisely. A consistent wood tone, a recurring accent color, or a restrained lighting choice can provide enough cohesion. Let the equipment’s practical requirements establish its position first.
Avoid making the whole room depend on one accessory collection or a short-lived visual theme. The display or console may change while good furniture and an effective layout remain. A flexible visual direction allows those changes without requiring a complete rebuild. Personal objects can supply character within that broader framework.
Test the Space With Other People Present
Invite another regular user to try the room before considering it finished. Check whether they can enter, find a controller, start the intended activity, and use an appropriate seat. Watch how the setup behaves when someone joins voice chat or a shared game. Real use often reveals a missing surface or an awkward transition that a drawing overlooked.
Discuss shared boundaries such as sound, available hours, and where equipment rests afterward. The room’s layout can support those agreements by providing obvious storage and usable controls. It cannot substitute for the conversation itself. A family gaming area becomes easier to enjoy when both the physical plan and expectations are clear.
Watch the route behind the chair or beside the sofa while someone plays. It may be narrower during use than it looked with the seat tucked away. Adjust the layout to suit that working position before selecting additional furniture. The plan should support movement when the gaming equipment is occupied, not only while the room is empty.
Finish Through a Full Evening of Use
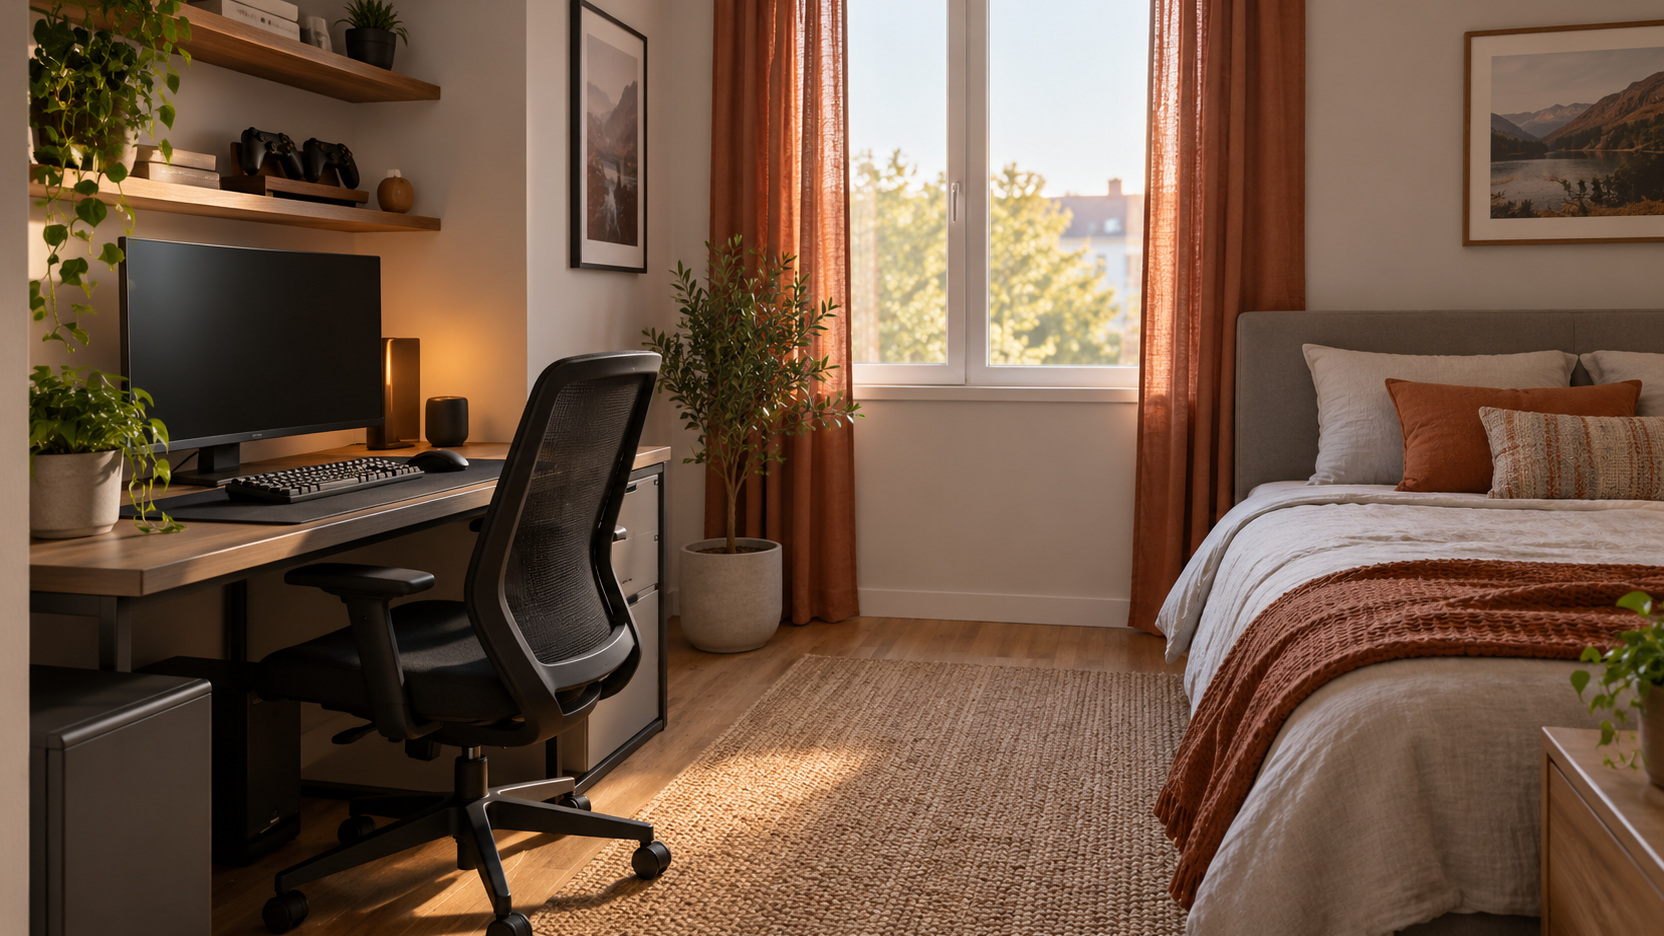
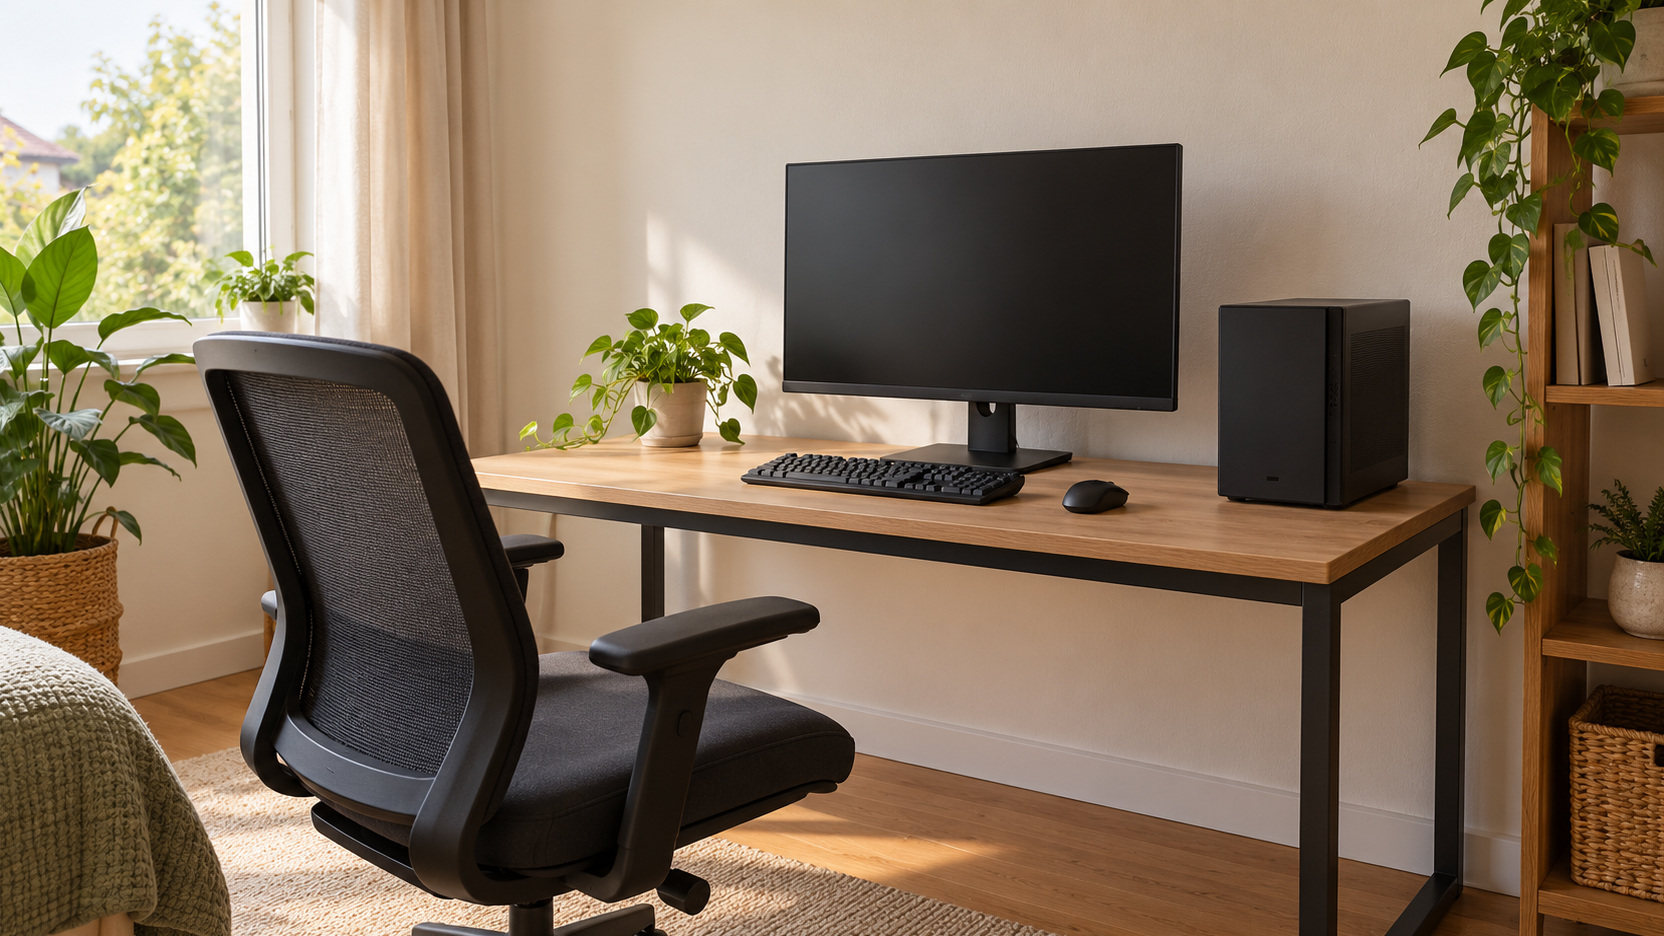
A desk-corner arrangement can be compact and personal without filling the surface. Put the display and regular inputs in the primary working position, keep the computer in its approved operating location, and reserve a reachable home for the headset and controller. A shelf can hold favorite objects without becoming a second input surface. Trial the chair while occupied, since the route behind it is part of the real footprint.
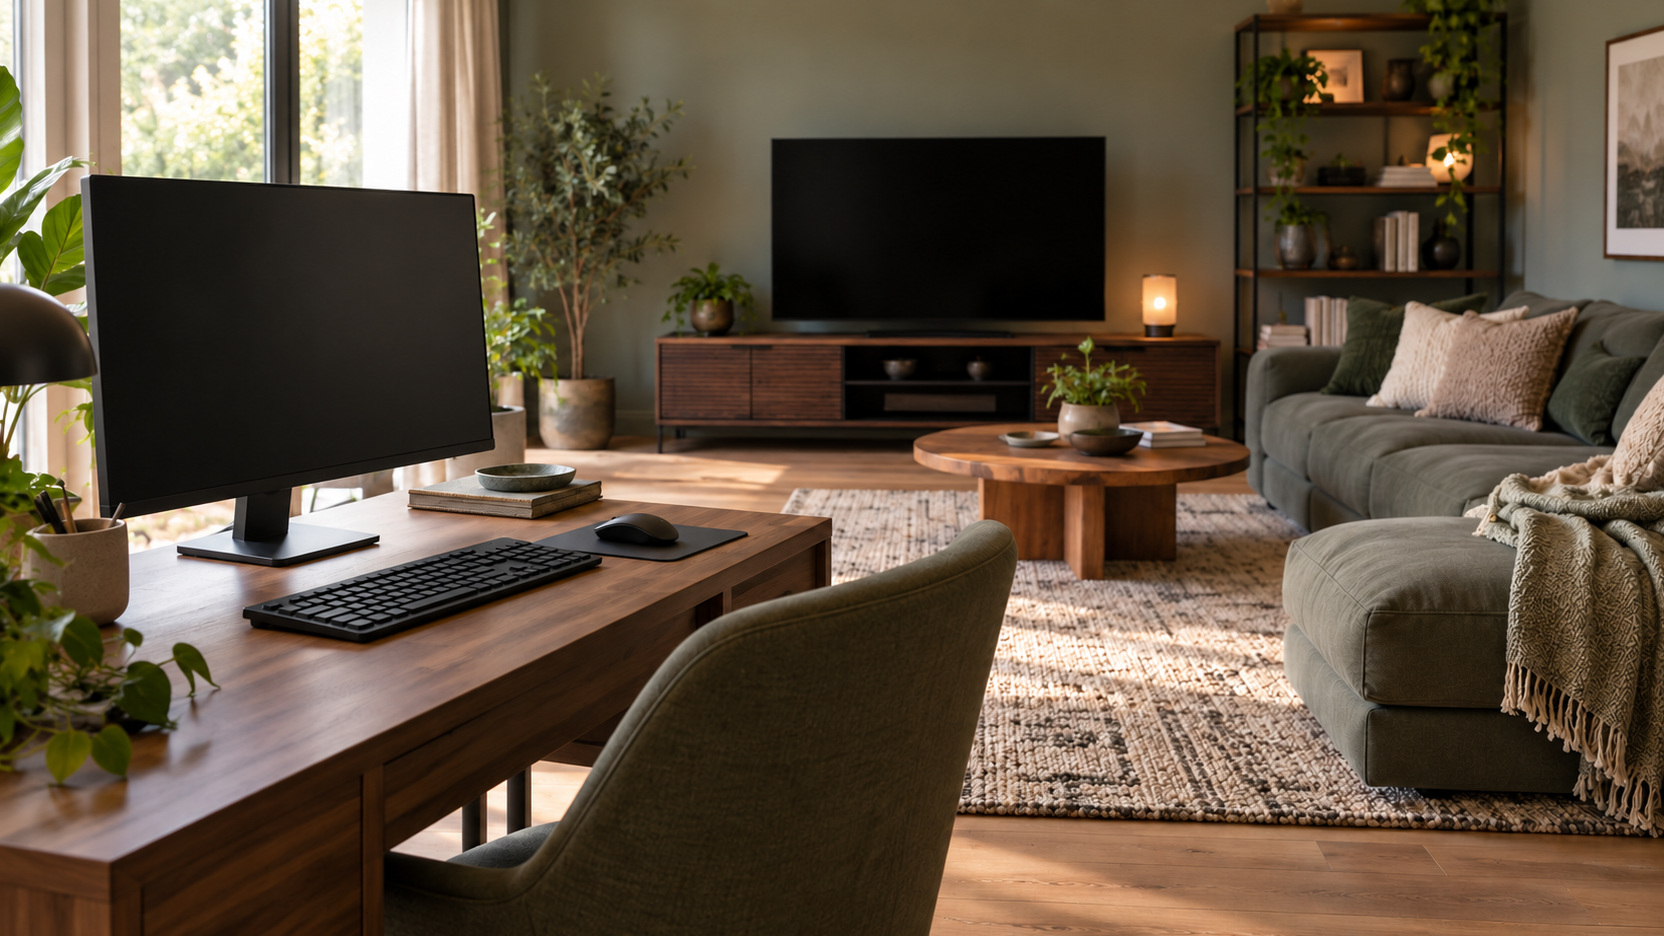
For shared sofa play, build around the television’s seated view and a clear controller return point. Keep an appropriate console position near its connections, and choose a side surface for items used during play rather than making everyone lean across a decorative coffee-table display. A general-lighting option should work when the television is off. If the room also serves conversation, the gaming routine should end with controls put away and shared surfaces available.
Run the chosen arrangement through a normal session: start the system, change an input, use voice chat if needed, take a break, and return equipment afterward. Look for repeated friction, such as an unreachable lead or a missing place to put down a controller. Ask another regular player to try the same sequence. Their hesitation can identify a control or storage point the person who arranged it has stopped noticing.
Make a small adjustment and try again before buying another accessory. Moving a lamp, simplifying a headset connection, or changing the controller’s home can remove an obstacle while preserving the visual direction you enjoy. Keep the improvement tied to the observed task. When the ordinary sequence works and the space reflects your own preferences, the design is ready to enjoy.